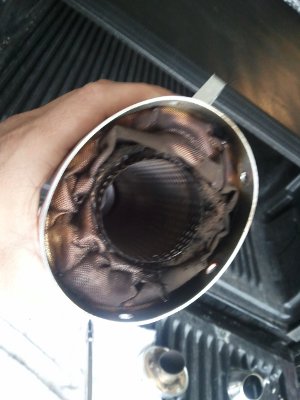
The packing in the main part will come out pretty easy. It's easier if you break it free from the rivets holding the bracket on, and the name plate on. Just press the packing in some, then it should pull out easily.
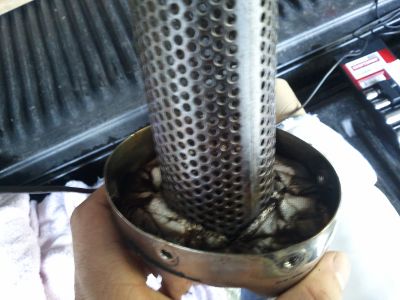
Now slide the entire cardboard tube that the packing comes on over the perforated tube. Then slide the cone piece down into place. You can look through the end to see if it's all the way down. When it's in place it may still stick up past the cone some.
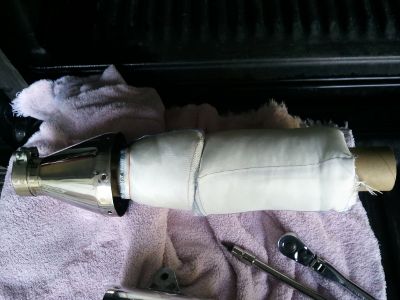
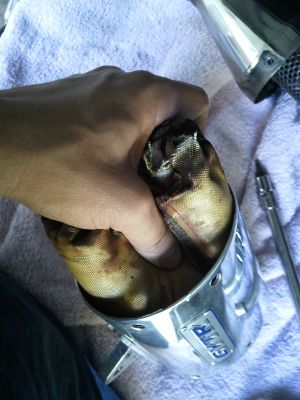
Then slide the body onto the packing as well. This part is easier than the cone.
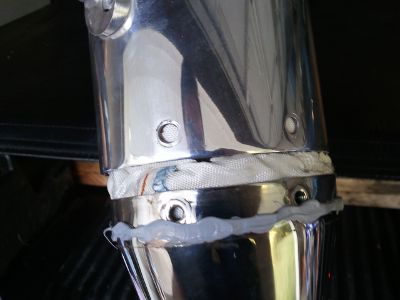
Now run a bead of high-temperature silicone around the header side of the slip on before putting the two pieces together. Yamaha does tell you to use their "special" sealant, I just used standard high temperature silicone available at any parts store. Yamaha also recommends using loc-tite on the bolts as well. I did not use any loc-tite and will just double check the bolts after some ride time.
Now, I ran into an issue when trying to pull the cardboard tube out. It did not come out in one piece, and ripped half way down. Since I already had silicone on it, I didn't have time to take pictures. I separated the two halves again, and pulled the tube out. The main body will not slide onto the perforated tube though without something on the top. So with the part of the cardboard tube removed, I wrapped electrical tape around the top 1/4" of the perforated tube, you just need to cover the top so it will slide together. This allowed me to slide the two pieces together easily, then pull the electrical tape off in one piece.
Once you have all the bolts in, smear the silicone around and wipe off all the excess so it looks like it did from the factory.
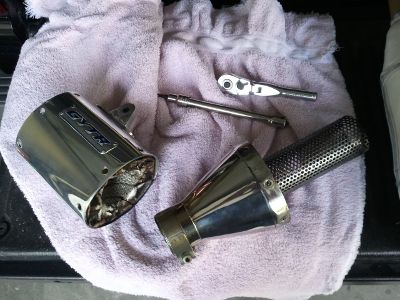
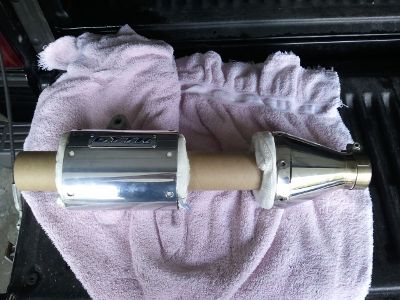
Overall this process is pretty straight forward. I would say for most people this repacking this slip-on isn't necessary. When I pulled the end cap off originally the end was fairly burnt, but the rest of the packing didn't look very bad. It appears I did not need to do this.